

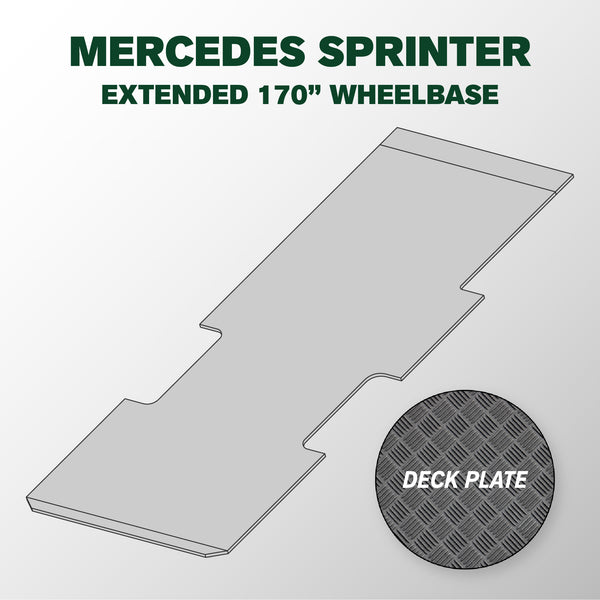
VANDECK Custom Fit Mercedes Sprinter 170 Extended Van Floor Mat (2015+), Deck Plate, Heavy Duty Rubber Cargo Liner

Notify me when available

,%20Deck%20Plate,%20Heavy%20Duty%20Rubber%20Cargo%20Liner)
Product Details
VANDECK™ 4MM RECYCLED RUBBER CARGO VAN MAT FOR MERCEDES SPRINTER
If you need dependable, no-nonsense protection for your cargo van, VanDeck™ delivers. Built from high-quality post-industrial recycled rubber, this heavy-duty 4mm one-piece mat is designed for trades professionals who want durability, traction, and fast installation—without the cost or complexity of rigid flooring systems.
Engineered specifically for cargo vans, VanDeck creates a tough, non-slip barrier that protects your factory steel floor from scratches, dents, and daily wear. It’s a practical upgrade that keeps your van working as hard as you do.
Why Choose VanDeck™ for Your Van?
4mm Heavy-Duty Recycled Rubber
Built from premium post-industrial rubber for long-lasting, eco-conscious durability in demanding work environments.
One-Piece, Drop-In Design
No seams. No shifting panels. Just lay it in and get back to work.
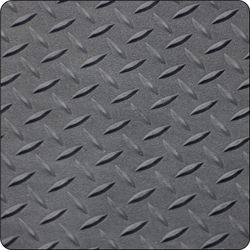
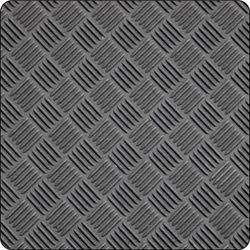
High-Traction Surface
Engineered grip helps reduce slips and keeps cargo from sliding on smooth steel floors.
Moisture & Chemical Resistant
Handles water, oils, and jobsite spills without degrading.
Low-Odor, Clean Install
Made from quality recycled materials with minimal odor—no harsh rubber smell during install.
Easy Maintenance
Sweep it out, wipe it down, or hose it off—built for real-world use.
Built for Real Work — Without Overbuilding
VanDeck™ is designed to hit the sweet spot between performance, simplicity, and cost-efficiency.
If you’re hauling tools, equipment, deliveries, or heavy cargo, the textured rubber surface adds critical grip—helping stabilize loads and improve footing while you move in and out of the van.
Compared to bare steel floors, VanDeck dramatically improves safety, control, and floor protection—without locking you into a permanent upfit.
A Smarter Upgrade from Bare Steel
If your priority is reliable protection, better traction, and fast installation, VanDeck™ is the right move.
It’s not trying to replace a full rigid flooring system—and that’s the point. For most trades, delivery routes, and mobile workspaces, it delivers exactly what you need:
Durability. Simplicity. Performance.
Install VanDeck™ in your Ford Transit and turn your cargo area into a safer, more controlled workspace—without overcomplicating your build.
REQUEST A QUOTE
Tell us what you need and we’ll reply fast.